
A Complete Guide to Installing a BMS on a LiFePo4 Battery with the Mason 280l DIY Box
In today’s fast-paced energy sector, safeguarding the performance and durability of battery systems—especially lithium iron phosphate (LiFePo4) batteries—is more important than ever. One key element that boosts both safety and efficiency is the Battery Management System (BMS). In this detailed guide, we’ll walk you through the process of installing a BMS on a LiFePo4 battery, with a special focus on the Mason 280l Battery DIY box available at Vnice Power. This setup not only improves battery management but also supports a wide range of commercial and DIY energy projects.
Why a BMS is Essential for LiFePo4 Batteries
A Battery Management System (BMS) acts as the intelligent core of a battery pack. It continuously monitors voltage, temperature, and state-of-charge for each cell. LiFePo4 batteries are already known for their safety and stability, but a BMS adds an extra layer of protection by preventing overcharging, deep discharge, and thermal runaway—issues that can otherwise lead to failure or hazards.
By integrating a BMS with your LiFePo4 battery—especially when using the Mason 280l Battery DIY box from VnicePower—you can extend battery life, improve reliability, and ensure compliance with industry safety standards. This makes the system ideal for renewable energy storage, electric vehicles, and backup power solutions.
Step-by-Step BMS Installation for LiFePo4 Batteries
1. Gather Your Tools and Materials
Before starting, make sure you have everything you need:
- LiFePo4 battery pack
- BMS compatible with LiFePo4 chemistry
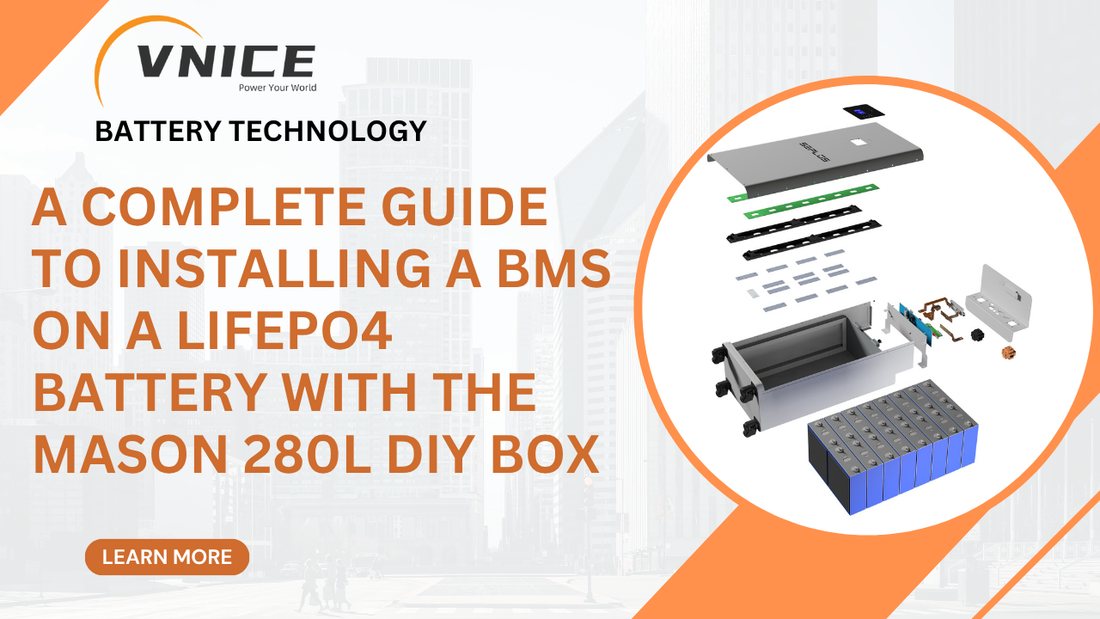
- Mason 280l Battery DIY box (available at VnicePower)
- Wiring harness and connectors
- Insulation materials
- Multimeter
-
Safety gear (gloves and goggles)
2. Prepare the Battery Pack
Ensure your LiFePo4 battery is fully charged and disconnected from any power load. Open the battery enclosure—or the Mason 280l DIY box—and inspect all cells for damage or irregularities.
3. Connect the BMS
Follow these steps carefully:
- Connect Cell Wires: Attach BMS wires to each cell in the correct order for accurate voltage tracking.
- Install Sense Wires: Connect sense wires to monitor cell voltage and temperature. Avoid crossed connections.
- Attach Main Power Cables: Secure the BMS’s main positive and negative cables to the battery terminals.
-
Integrate Communication Lines: If your BMS supports external communication, connect the appropriate lines.
4. Test the System
After all connections are secure, use a multimeter to check each cell’s voltage. Verify that BMS indicator lights are working and that the system is communicating properly.
Conclusion
Installing a BMS on a LiFePo4 battery is a smart move for anyone looking to enhance safety, extend lifespan, and improve performance. By using the Mason 280l Battery DIY box from VnicePower, the process becomes more accessible and organized. This integration not only supports efficient energy management but also positions your projects for success across various applications.
