
Step-by-Step Guide to Assembling a Battery DIY Kit
Introduction
Building your own battery DIY kit is an empowering way to create custom energy storage for solar systems, electric vehicles, or backup power. With the right tools and guidance, even beginners can assemble a high-performance lithium battery pack safely and efficiently.
This step-by-step guide will walk you through:
✔ Essential tools and safety precautions
✔ How to choose the right battery cells (LiFePO4, NMC, etc.)
✔ Wiring, balancing, and installing a Battery Management System (BMS)
✔ Testing and troubleshooting your DIY battery pack
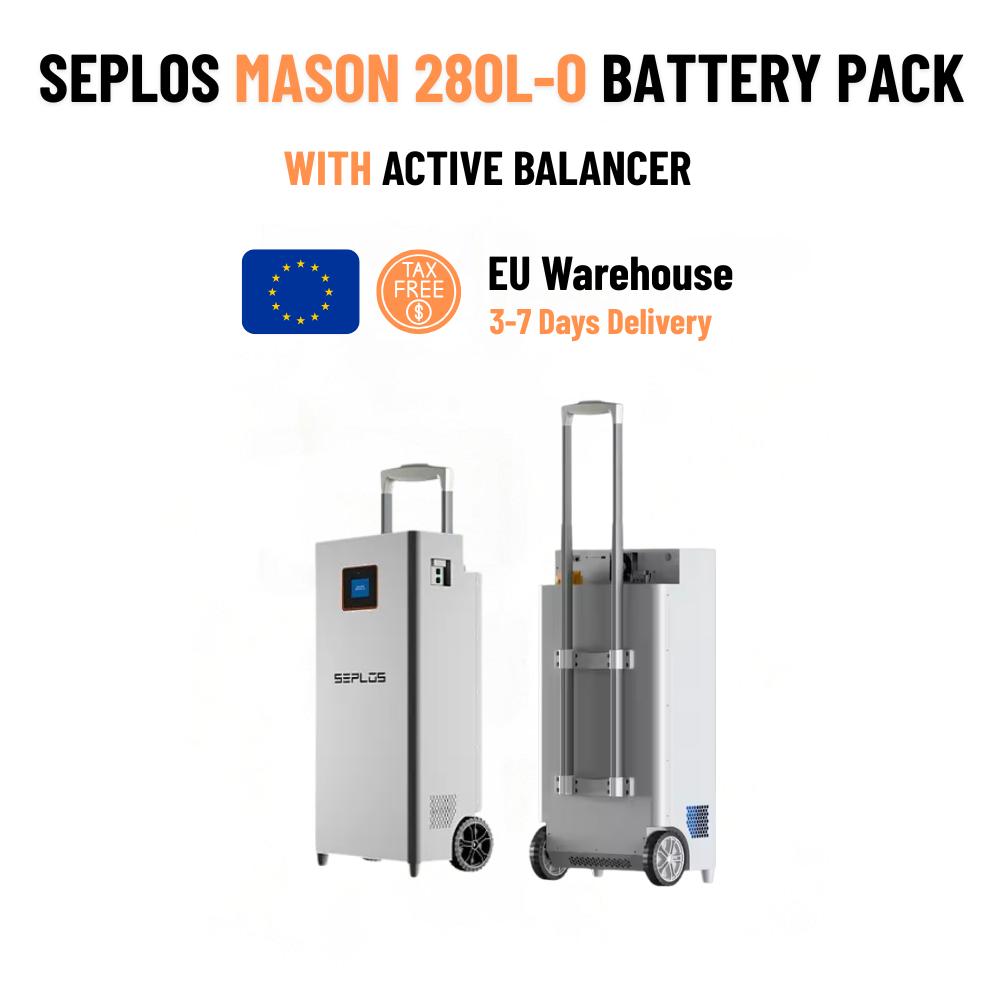
Whether you're using Mason 280L cells, V4 DIY kits, or other lithium modules, this tutorial ensures professional results.
Step 1: Gather Your Tools & Materials
Essential Tools
🛠 Multimeter – Measures voltage and continuity
🛠 Spot welder or soldering iron – For secure cell connections
🛠 Insulated gloves & safety goggles – Prevents electrical hazards
🛠 Battery holder or enclosure – Keeps cells organized
🛠 Heat shrink tubing & busbars – Ensures safe wiring
Key Components
🔋 Lithium cells (LiFePO4, NMC, or Li-ion) – e.g., Mason 280L for high capacity
🔌 Battery Management System (BMS) – Protects against overcharge/over-discharge
🔗 Nickel strips or copper busbars – Connects cells in series/parallel
📦 Enclosure or battery box – For structural integrity
Step 2: Plan Your Battery Configuration
Series vs. Parallel Wiring
- Series connection → Increases voltage (e.g., 16x 3.2V LiFePO4 cells = 51.2V)
- Parallel connection → Increases capacity (e.g., 4x 100Ah cells = 400Ah)
Example: 51.2V 280Ah LiFePO4 Battery Pack
✔ 16 cells in series (3.2V x 16 = 51.2V)
✔ 1 sets in parallel (280Ah x 21 = 280Ah)
Step 3: Assemble the Battery Pack
1. Arrange Cells in a Battery Holder
- Ensure proper alignment for series/parallel connections.
- Use fish paper or insulation between cells to prevent shorts.
2. Connect Cells with Nickel Strips/Busbars
- Spot-weld or solder carefully to avoid overheating cells.
- Check voltage balance before finalizing connections.
3. Install the BMS (Critical for Safety!)
- Connect balance wires to each cell group.
- Secure main positive/negative terminals.
Step 4: Test Before Sealing
✅ Check total voltage (should match expected output)
✅ Test individual cell voltages (must be balanced)
✅ Verify BMS protection (overcharge/discharge cutoff)
Step 5: Enclose & Finalize
- Place the pack in a fire-resistant enclosure (e.g., V4 DIY battery case).
- Label terminals clearly (Positive/Negative).
- Optional: Add a battery monitor for real-time tracking.
Safety Tips & Common Mistakes
⚠ Never mix old/new or different battery brands
⚠ Avoid soldering directly to cells (use spot welding)
⚠ Always use a BMS to prevent fires
Final Thoughts
Assembling a battery DIY kit is a rewarding project that saves money and offers custom energy solutions. Whether you choose Mason 280L cells for solar storage or a V4 DIY kit for EVs, following this guide ensures a safe, high-performance battery pack.
Ready to build your own? Share your results in the comments!
