
How to Build a DIY LiFePO4 Battery (Step-by-Step Guide)
How to Build a DIY LiFePO4 Battery
Building your own 48V LiFePO4 battery used to be a project for engineers. Today, with drop-in DIY battery kits, prismatic cells and plug-and-play BMS units, a careful DIYer can assemble a home battery in a weekend — and save hundreds of euros compared with a pre-built pack. This step-by-step guide walks you through building a safe, durable 48V battery for solar energy storage. If you are new to this, read the whole guide once before you buy anything.
Why Build a DIY Solar Battery Instead of Buying a Pack?
A ready-made 15kWh battery with installation can cost £6,000–£10,000 in the UK. A DIY solar battery of the same capacity — cells, BMS, box and busbars — typically comes in at a fraction of that, and you choose every component. You also learn the system you own, which makes maintenance and future upgrades far easier. The trade-off is your time and a need for basic electrical care. For many EU households, that trade-off is exactly why DIY battery kits have become so popular.
What You Need for a 48V DIY Battery Kit
A complete 48V system needs five things:
1. 16 prismatic LiFePO4 cells (3.2V each, in series for 51.2V nominal).
2. A BMS rated for your pack — for 16S LiFePO4 that means a 16S BMS, typically 100A–200A.
3. A battery box with busbars, insulated cell holders and cable entry.
4. Busbars and hardware (M6 studs, ring terminals, torque wrench).
5. A multimeter and torque wrench — and patience.
You can buy these as separate parts or as a complete DIY battery kit that includes everything matched, which removes most of the guesswork.
Step 1 — Choose the Right LiFePO4 Cells (280Ah vs 304Ah)
The cells are the heart of the build. Two sizes dominate European DIY builds: 280Ah and 304Ah (with 314Ah increasingly common). Sixteen 280Ah cells in series give a 51.2V 280Ah pack — roughly 14.3kWh of energy. Sixteen 304Ah cells give about 15.5kWh. Buy Grade A cells from a reputable brand such as EVE or CATL, and buy them matched — matched batches have similar voltage and internal resistance, which means easier balancing and a longer life. Never mix cells from different batches in one pack.
Step 2 — Pick a BMS for a 16S System
The BMS is the safety brain of your battery. For a 16S LiFePO4 pack, choose a 16S BMS rated at or above your expected continuous current — 100A covers most 5kW–10kW inverters, 200A gives headroom for larger loads. Look for low-temperature charge protection, cell balancing, and a Bluetooth or CAN interface so you can watch cell voltages from your phone. Many DIY kits ship with a Seplos BMS 3.0, which is a well-documented, inverter-friendly choice.
Step 3 — Assemble the Battery Box
Mount the cells in the box with the terminals facing the busbar side. Use the insulated holders to keep cells snug; compression improves cycle life, so follow the box manufacturer's torque spec. Fit the BMS on its bracket before wiring the cells — it is far easier to place it first than to squeeze it in afterwards. A good DIY battery box includes labelled cable entries for the main positive, main negative and BMS communication cables.
Step 4 — Wire the Cells in Series
Wire the 16 cells in series: positive of cell 1 to negative of cell 2, and so on, ending with main positive on cell 16 and main negative on cell 1. Use the supplied busbars and torque the M6 studs to the spec in your kit (typically 6–8 Nm). Double-check every connection twice. A loose busbar is the most common cause of hot spots and cell damage in DIY packs. Then measure the pack voltage with a multimeter — you should see roughly 51.2V.
Step 5 — Connect the BMS and Active Balancer
Attach the BMS balance leads to each cell in order, then connect the BMS main leads to the pack terminals. If your kit includes an active balancer (such as a 10A unit), it continuously moves charge between cells during charging and rest, which keeps the pack in better balance than passive BMS balancing alone. That means more usable capacity and a longer pack life — a worthwhile upgrade on larger 280Ah builds.
Step 6 — First Charge, Testing and Balancing
Before connecting an inverter, charge the pack with a bench charger or your hybrid inverter in battery-priority mode. The first charge is when the BMS learns the pack and the balancer evens out cell voltages. Expect the first full charge to take longer than normal. Once the cells sit within 20–30 mV of each other, the pack is ready for service. Log the cycle count and cell spread in the BMS app so you have a baseline for the battery's whole life.
Safety Notes for a Home Energy Storage Build
- Work with the pack disconnected until Step 6; 51.2V is safe to touch in dry conditions, but a short across the terminals can deliver hundreds of amps.
- Use insulated tools and never wear rings or metal jewellery.
- Install the finished battery in a ventilated, dry indoor location, away from direct sunlight and water.
- Size all wiring and fuses for the inverter's maximum current, not just the BMS rating.
- If you are unsure about any step, stop and ask — most kit suppliers (including us) will answer build questions before you buy.
Frequently Asked Questions
Can I build a 48V battery without soldering?
Yes. Modern cells use M6 studs and bolted busbars, so the build needs a torque wrench, not a soldering iron. No soldering is required at any step.
How many 280Ah cells do I need for a 48V battery?
Sixteen. A 48V LiFePO4 system is a 16S configuration — sixteen 3.2V cells in series produce 51.2V nominal, which is what most 48V inverters expect.
Wondering how long your finished pack will last? Read our solar battery lifespan guide, and size your build with the battery sizing guide.
(end of article)
Build your own 48V battery this weekend.
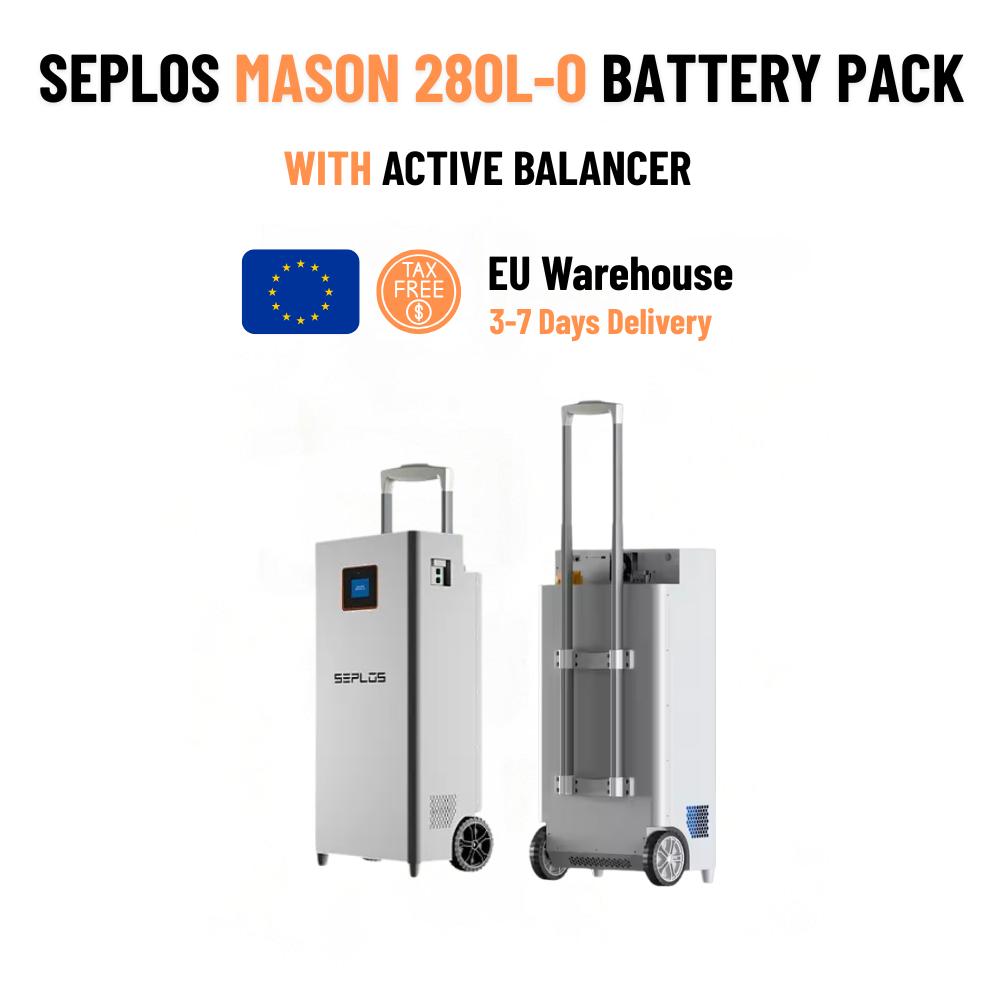
Start with EU stock Seplos Mason 280 DIY battery kits — box, BMS 3.0, busbars and active balancer included, shipped from our European warehouse in 4–7 days.
